
Put it in a repository and GitHub renders it automatically on the repository page, so it is the first thing most visitors read.
A good README answers a handful of questions in order: what does this do, why should I care, how do I install it, how do I use it, and where do I get help. This guide covers what to put in a README, a section-by-section structure you can copy, and how to format it so it reads well and survives forks.
README structure at a glance
GitHub's own guidance lists the questions a README typically answers. Keep this list in mind as you write, because it is what a first-time visitor actually wants to know.
| Question | What to cover |
|---|---|
| What does the project do? | A one-line summary, then a short paragraph |
| Why is it useful? | The problem it solves, who it is for |
| How do I get started? | Install steps and the smallest working example |
| Where do I get help? | Issues, discussions, a contact, or docs links |
| Who maintains it? | Maintainers, contributors, and how to join |
You do not need every section for every project. A tiny script needs a title, a sentence, and a usage example.
A library other people depend on needs installation, configuration, and contribution notes. Match the depth to the audience.
README Key facts
- A README is a plain Markdown file named
README.md; there is nothing special about the format, only the name. - GitHub automatically surfaces a README that lives in the repository's
.github, root, ordocsdirectory. When more than one exists, it shows them in that order:.githubfirst, then root, thendocs. - GitHub builds a table of contents from your section headings, reachable through the "Outline" menu icon, so short READMEs rarely need a hand-written one.
- A "profile README" is a repository named the same as your username, with a
README.mdin its root; GitHub shows it on your profile page. - Use relative links and image paths so they keep working in clones and forks; a link starting with
/is relative to the repository root. - Content beyond 500 KiB is truncated in GitHub's rendered view, so keep the file focused and move deep detail into
docs/or a wiki.
A section-by-section structure
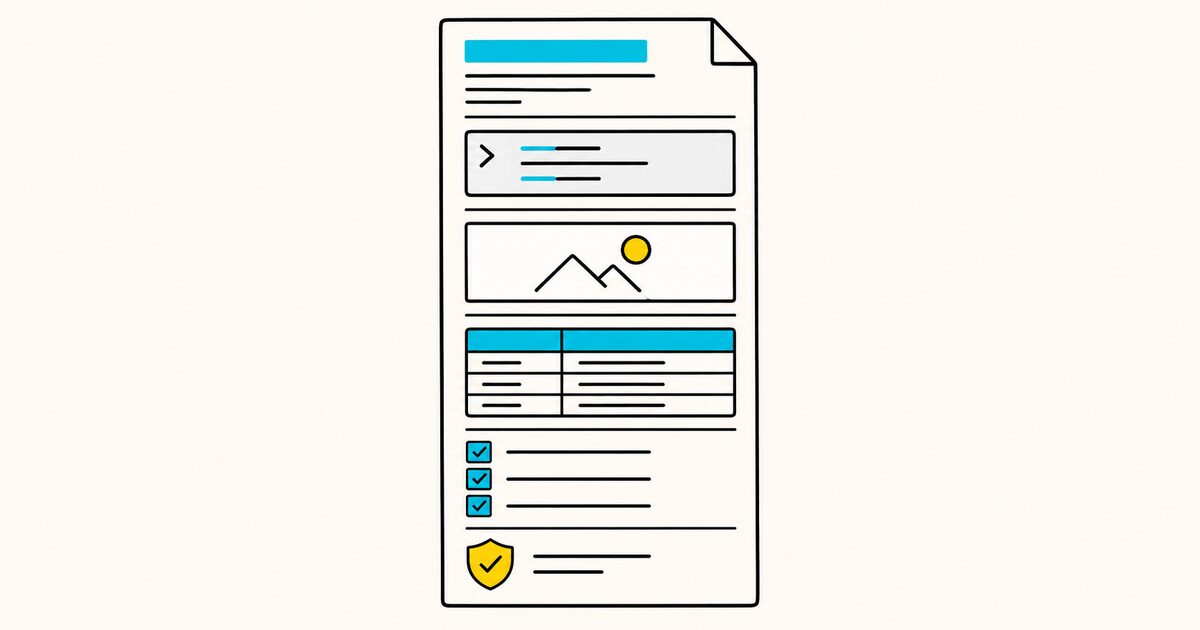
Most projects fit a dependable order. Readers scan top to bottom, so put the fast, concrete information first and the background later.
| Section | Purpose |
|---|---|
| Title and one-line description | What the project is, in a sentence |
| Badges | Build status, version, license at a glance |
| Screenshot or demo | Show the result before explaining it |
| Installation | The exact commands to get running |
| Usage | The smallest real example |
| Configuration | Options, environment variables, defaults |
| Contributing | How to help, linked to a longer file |
| License | What people can do with the code |
A few habits make a README easier to live with. Lead with a working example rather than a philosophy, because people scan for the command that gets them running.
Keep the front page short and move long reference material into a docs/ folder or a wiki. GitHub itself recommends that a README hold only what a developer needs to get started, with longer documentation living in a wiki.
Do not copy every section into every project. A useful README is complete for its audience, not long for its own sake.
An example README skeleton
Here is a realistic skeleton you can paste into a new README.md and fill in. It uses only standard Markdown plus a couple of common HTML touches, so it renders the same on most platforms.
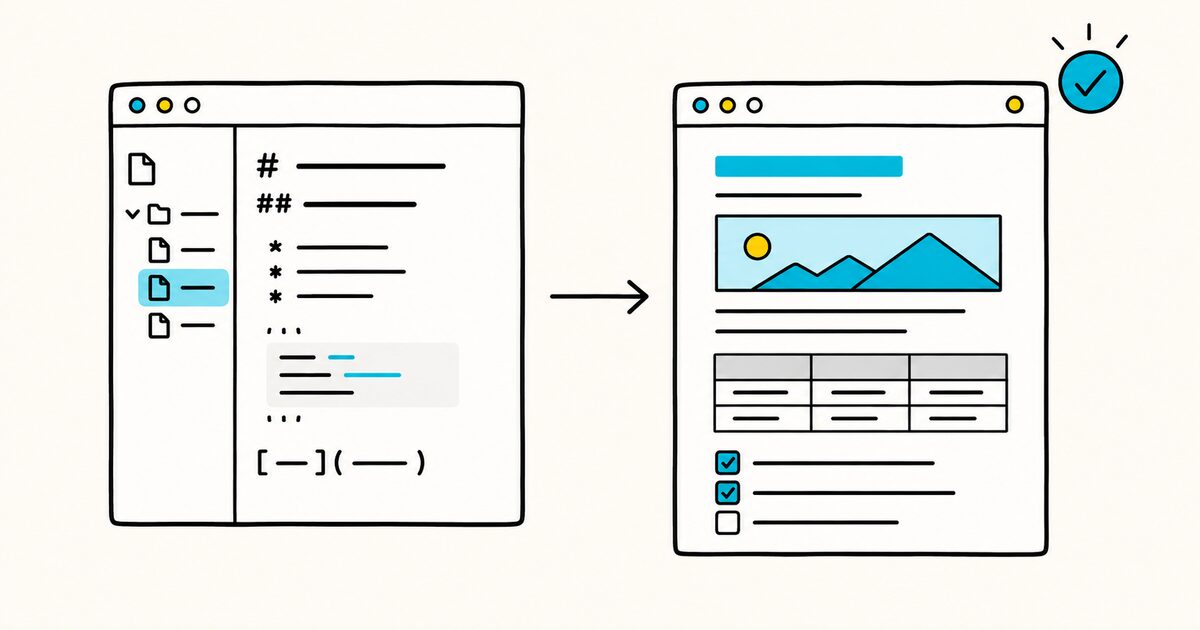
# Project name
One sentence that says what this does and who it is for.


## Installation
npm install project-name
## Usage
import { greet } from "project-name";
greet("world");
## Configuration
| Option | Default | Description |
|-----------|---------|--------------------------|
| `apiKey` | none | Your API key |
| `timeout` | `3000` | Request timeout in ms |
## Contributing
Pull requests are welcome. See [CONTRIBUTING.md](docs/CONTRIBUTING.md).
## License
[MIT](LICENSE)
Swap the badge URLs for real ones, point the image at a file you commit to the repo, and replace the code blocks with your project's actual commands. The structure stays the same across languages and ecosystems.
Adapt the README to the project
| Project type | Put near the top |
|---|---|
| App | Screenshot, supported platforms, install steps, first task |
| Library or API | Install command, smallest working example, compatibility |
| Command-line tool | Install command, usage pattern, common examples |
| Small script | Purpose, requirements, exact command, expected output |
For a library, readers need to see an import and a working call quickly. For an app, a screenshot and a clear install path matter more.
Never put real API keys, access tokens, passwords, or production .env values in a README. Use placeholders and link to secure configuration instructions instead.
README formatting
You do not need every Markdown feature to write a strong README. A handful of elements carry most of the weight.
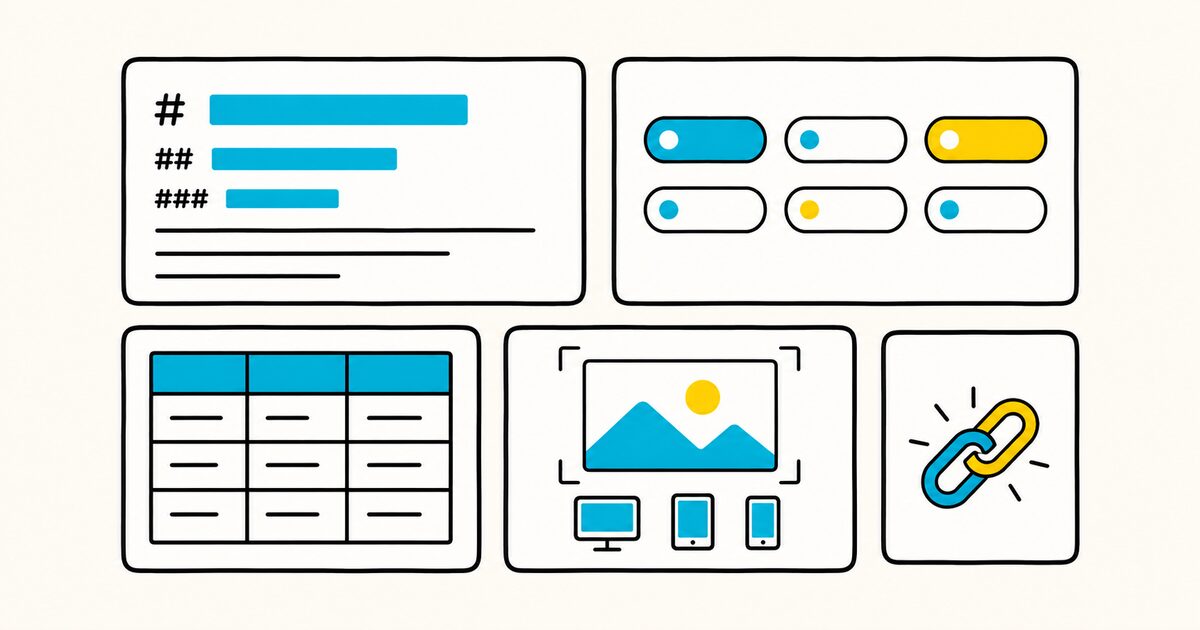
Headings and the automatic outline
One to six # characters set a heading level. For the rendered view of any Markdown file, GitHub automatically generates a table of contents from your section headings, which you open with the "Outline" menu icon in the top corner of the page. That means you usually do not have to maintain a table of contents by hand.
You can also link directly to any section that has a heading. Hover over a heading in the rendered file to expose a link icon, then click it to get the anchor. To write one of these section links yourself, point at the lowercase, hyphenated form of the heading text.
Jump to [installation](#installation).
For the general rules on heading levels and anchors, see Markdown headings.
Badges
Badges are the small status images near the top of many READMEs: build passing, current version, license, coverage. Each one is just a Markdown image whose source is a badge service that returns an SVG. Wrap the badge in a link if you want it to be clickable.
[](https://example.com/ci)
Badges are a convention, not a GitHub feature, so keep them to the few that tell a visitor something real. A row of ten badges is noise.
Tables
Tables are useful in a README for configuration options, comparison grids, and command references. Pipes separate columns, and a row of hyphens under the header turns it into a table.
| Option    | Default | Description           |
|-----------|---------|-----------------------|
| `apiKey`  | none    | Your API key          |
| `timeout` | `3000`  | Request timeout in ms |
Tables do not wrap or span cells, so keep the content short. The full rules live in Markdown tables.
Images that survive forks
Store screenshots and logos in the repository and link them with a relative path. GitHub transforms a relative link or image path based on whichever branch the reader is on, so the path always resolves, and it keeps working when someone clones or forks the project. A link that starts with / is relative to the repository root, and you can use relative paths like ./ and ../.

Absolute links to one branch can break in clones, so GitHub recommends relative links for files inside your repository. One rule to watch: the link text has to be on a single line, or it will not render. For sizing and other image options, see Markdown images.
When to add a table of contents
People often ask how to add a table of contents to a README. For most projects the answer is that you do not need to build one, because GitHub generates the outline from your headings automatically. Reach it through the "Outline" icon on the rendered page.
A hand-built table of contents earns its keep only when a file is genuinely long and readers need to jump around from the top of the page. In that case, write a bulleted list where each item links to the anchor of a heading.
## Contents

- [Installation](#installation)
- [Usage](#usage)
- [Configuration](#configuration)
- [Contributing](#contributing)
Keep it in sync by hand, since renaming a heading changes its anchor and quietly breaks the link. That maintenance cost is the reason to lean on the automatic outline for anything short.
Where GitHub looks for a README
Placement decides where the README shows up. GitHub recognizes and surfaces a README that lives in the repository's .github, root, or docs directory. If a repository contains more than one, the file shown is chosen in this order: the .github directory first, then the repository's root, and finally the docs directory.
There is a special case worth knowing. If you add a README to the root of a public repository whose name matches your username, that README appears on your GitHub profile page. This "profile README" is written in GitHub Flavored Markdown, and it is how people build the personalized panels you see at the top of a profile.
Put a README in a subfolder and GitHub renders it on that folder's page too, which is handy for documenting a packages/ directory or an examples folder.
What is portable, and what is GitHub-only
A README is Markdown, so the core of it travels anywhere: headings, lists, links, images, tables, and fenced code blocks render on GitLab, Bitbucket, npm, and any standard Markdown viewer. That portability is worth protecting, because your README often gets shown outside GitHub, on a package registry page or a documentation site.
Some conveniences are GitHub-specific and will not carry over. The automatic outline, the profile README behavior, the way relative links rewrite to the current branch, and GitHub's alert callouts (> [!NOTE]) are GitHub features.
Badge services and shields are third-party, so they render as plain images anywhere that supports images. If you want your README to look right on several platforms, stick to standard Markdown for the structure and treat the GitHub extras as a bonus layer. For the full set of GitHub-specific syntax, including alerts, task lists, and diagrams, see Markdown on GitHub.
Preview before you commit
Because a README is a plain Markdown file, you can write and check it in any Markdown editor before you push. Markdific opens and renders .md files on Mac and Windows with a live preview, so you can confirm the headings, tables, and image links look right before the file lands on GitHub.
When you need to hand the README to someone outside the repository, Markdific exports it to PDF, Word, or HTML. Markdific renders standard Markdown, so GitHub-only features like alert callouts and the automatic outline are GitHub behaviors and will not appear in the preview; the structure, tables, and code blocks that make up most of a README will.
README review checklist
- The first sentence says what the project does and who it is for.
- Installation commands work in a clean environment.
- The smallest usage example runs as written.
- Required configuration and supported versions are named.
- Screenshots and output examples match the current release.
- Links and relative image paths work from a clone or fork.
- Images have useful alt text.
- No credentials, private URLs, or real secrets appear in the file.
- Support, contribution, and license information point to the correct places.
Common README mistakes
| Problem | Cause | Fix |
|---|---|---|
| README does not show on the repo page | File is in the wrong folder | Put it in .github, root, or docs |
| Screenshot broken in a fork | Absolute link to one branch | Use a relative path to the committed image |
| Section link goes nowhere | Heading text changed, so the anchor did | Update the #anchor to match |
| Image link renders as text | Link text split across two lines | Keep the link on a single line |
| README gets cut off | File exceeds the 500 KiB render limit | Move detail into docs/ or a wiki |
| Too many badges | Decoration over information | Keep the few that state something real |
FAQ
What is a README file?
A README is a Markdown file named README.md that explains what a project does, why it is useful, and how to use it. GitHub automatically shows it on the repository or folder page, so it is usually the first thing a visitor reads.
Where should I put the README file in my repository?
GitHub surfaces a README that lives in the repository's .github, root, or docs directory. If more than one exists, it shows them in that order: .github first, then the root, then docs. The root is the usual choice.
How do I add a table of contents to a README?
For most READMEs you do not need to. GitHub automatically generates a table of contents from your section headings, which you open with the "Outline" menu icon on the rendered page. For a long file, hand-write a bulleted list of anchor links, where each link points to the lowercase, hyphenated version of a heading.
How do I add images to a README so they show in forks?
Commit the image to the repository and link it with a relative path, such as . GitHub rewrites relative paths to the reader's branch, so they keep working in clones and forks. A path that starts with / is relative to the repository root.
What is a GitHub profile README?
It is a README in the root of a public repository whose name matches your username. GitHub shows that file on your profile page, and you write it in GitHub Flavored Markdown to create a personalized section at the top of your profile.
How do I add badges to a README?
A badge is a Markdown image pointing at a badge service that returns an SVG, for example a shields.io URL. Wrap it in a link to make it clickable. Keep badges to the few that convey real status, such as build, version, and license.
How long should a README be?
Long enough to get someone started and no longer. GitHub recommends keeping a README to what a developer needs to begin, and moving deep reference material into a wiki or a docs/ folder. Note that GitHub truncates the rendered view past 500 KiB.
Can I preview a README before pushing it to GitHub?
Yes. Use GitHub's Preview tab in the editor, or write in a Markdown editor first. Markdific renders .md files with a live preview on Mac and Windows, so you can check the formatting before you commit, then export to PDF, Word, or HTML if you need a copy outside the repository.
Sources and verification
- GitHub: About READMEs
- GitHub: Basic writing and formatting syntax
- Google developer documentation style guide: READMEs
Product behavior was checked on 26 September 2026.
Related pages
- Markdown on GitHub
- Markdown in Obsidian
- Markdown headings
- Markdown images
- Markdown tables
- Markdown cheat sheet